
All Ways to Remove Microsoft Office from Your Computer

Removing Microsoft Office: all effective methods
Microsoft Office is worldwide one of the most used software packages for creating documents, presentations and spreadsheets. However, it may be necessary to remove the program from your computer. You may want to upgrade to a newer version, switch to alternative software, or simply free up more storage space. In this article we discuss some simple ways to remove Microsoft Office from a Windows computer. For removing Office on a Mac, refer to the specific instructions for Mac users.
Why would you remove Microsoft Office?
There are several reasons why you might want to remove Microsoft Office. You may want to:
- Switch to another version that better fits your needs;
- Free up space on your hard drive;
- Troubleshoot an existing installation.
Whatever the reason, removing Microsoft Office can be simple if you follow the correct steps.
Useful tips for removing Microsoft Office
- Make a backup: Ensure that you save important files to the cloud, an external hard drive, or a USB stick before you begin.
- Check for leftover files: Make sure all remnants of Office are completely removed to prevent conflicts with new installations.
- Restart your computer: Restart your computer after you have removed Microsoft Office, especially before installing a new version.
Method 1: Remove via the Control Panel
This is the most direct way to remove Microsoft Office.
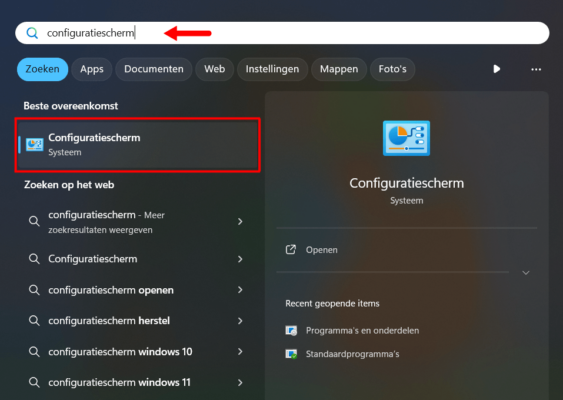
Step 1: Open the Control Panel
- Search for “Control Panel” via the Start menu and open it.
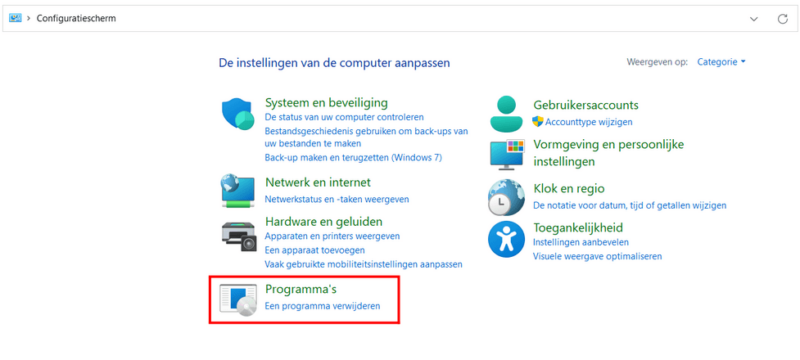
Step 2: Go to ‘Programs’
- Click in the Control Panel on “Programs” and then on “Programs and Features”.
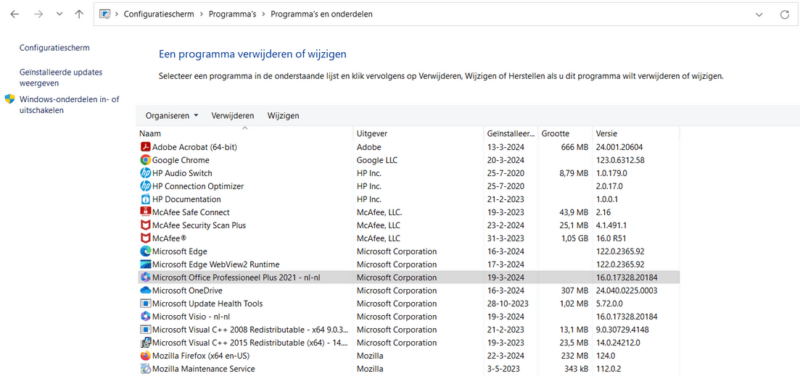
Step 3: Find Microsoft Office
- Browse through the list of installed programs and look for “Microsoft Office”.
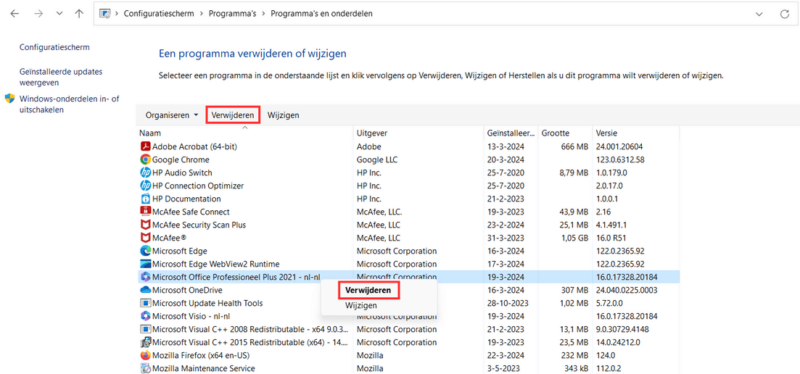
Step 4: Remove Microsoft Office
- Right-click on “Microsoft Office” and select “Remove”. Follow the on-screen instructions to complete the removal.
Method 2: Use the Microsoft Office Removal Tool
For a more thorough removal, you can use the official Microsoft tool.
Step 1: Download the Removal Tool
- Visit the Microsoft website, download the Office Removal Tool and run the installer file (.exe).
Step 2: Run the Removal Tool
- Double-click on the downloaded file and follow the steps to install and launch the tool.
Step 3: Remove Microsoft Office
- Click on “Remove” in the tool. The Removal Tool ensures that all Office programs and associated files are completely removed from your computer.
Method 3: Manually uninstall Microsoft Office
For more control over the process, you can manually uninstall Office. This can be useful if you want to delete specific files.
Step 1: Close all Office applications
- Make sure all Office programs are fully closed before you begin.
Step 2: Delete Office files
- Navigate to the installation folder (usually “C:\Program Files\Microsoft Office”) and delete all files and folders associated with Office.
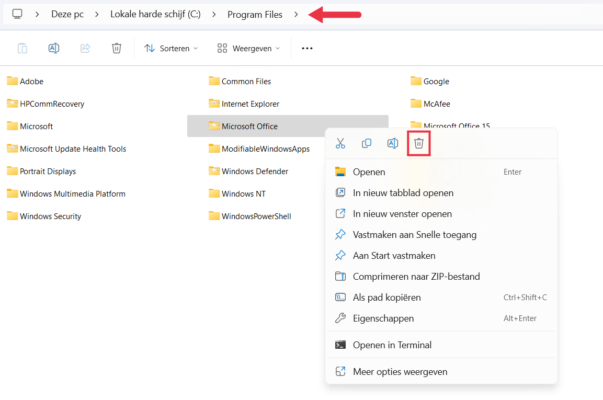
Step 3: Empty the recycle bin
- Permanently delete the files by emptying the recycle bin.
Conclusion
Whether you choose to use the Control Panel, the Microsoft Office Removal Tool, or a manual approach, there are several ways to remove Microsoft Office from your Windows computer. Choose the method that best fits your situation and make sure your files are safe before you begin. This way you can quickly and effectively free up space or switch to another version.